
How to
How to Install Christmas Lights Outside
A step-by-step method for installing outdoor Christmas lights safely — planning, power, fixings, ladder work, and when to call somebody instead.
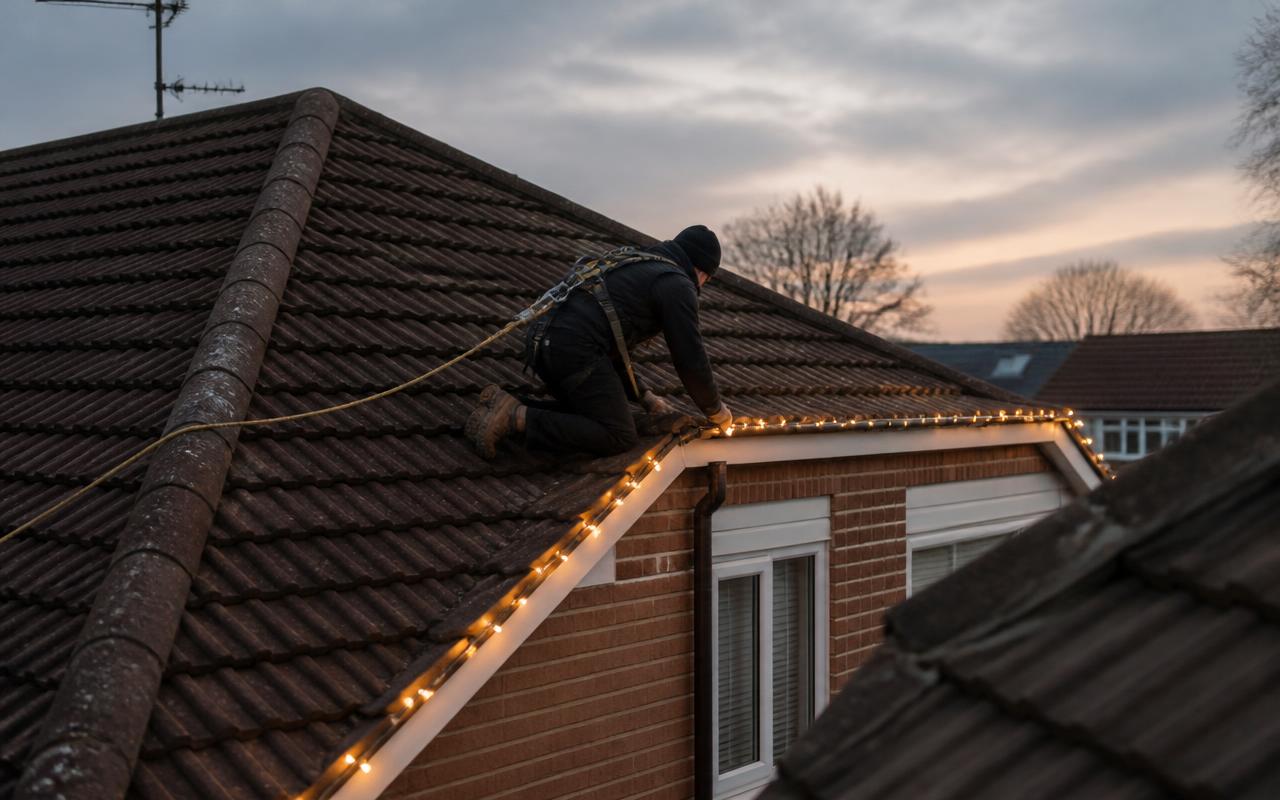
Plan the runs on paper, test every set on the ground, work from the power source outwards, and fix to the surface without piercing the cable. Do the ground-level work yourself and think hard before taking a ladder above single-storey height.
Here is the method we use, minus the access equipment. Read the last two sections before you decide to do the roofline yourself.
1. Plan it on paper first
Photograph the front of the house in daylight and draw the runs on the photo. Decide the primary line — usually the roofline — and stop there if the budget or the daylight is short.
Measure each run with a tape or a measuring wheel, add ten per cent for corners and drops, and write the total down. It decides everything you buy.
2. Buy for outdoors, and buy once
- Rating
- IP44 minimum, IP65 for anything in driven rain
- Type
- Low-voltage LED with an external transformer
- Sets
- Connectable, not four separate strings with four plugs
- Colour
- Warm white, one temperature across everything
- Density
- Around 100 LEDs per metre for an unbroken line
Retail sets are usually built for one season. If you plan to put lights up again next year, commercial-grade pays for itself on the second December.
3. Test everything on the ground
Lay every set out on the lawn or the drive, connect it exactly as it will run on the house, and switch it on for ten minutes. Faults are almost always present out of the box, and finding one at ground level costs nothing.
4. Sort power before you climb
You want an outdoor-rated socket or a weatherproof enclosure, an RCD, and a drip loop so water runs away from the connection rather than into it. Put the whole display on one timer — dusk to 11pm is what most people settle on.
5. Fix to the surface, not through it
Every surface behaves differently in a British winter, and the right fixing is a judgement made up close, not from the ground. Whatever you use must hold the run without piercing the cable or marking the house.
Work outwards from the power source, so you never have to unclip a finished run to reach a plug. Never nails, never staples: a staple through the cable is the classic January failure and it voids the set's warranty.
6. The ladder, honestly
Most accidents happen on the second trip up, in the dark, carrying something. If you are doing it anyway:
- Ladder at one out for every four up, feet on firm level ground, tied or footed by someone.
- Three points of contact at all times. Lights in a bag over the shoulder, never in a hand.
- Never lean sideways — move the ladder, every time, however tempting.
- Never work on a wet, frosty or windy day, and never alone.
- Never step onto a roof slope. Tiles are lethal wet and brittle cold.
7. Dress the run
Once fixed, walk to the pavement and look. Sags, gaps and one bulb pointing at the sky are all obvious from thirty feet and invisible from a ladder. Adjust from the ground's point of view, not the climber's.
8. Take-down matters too
Take lights down in early January while the fixings are still sound. Coil each run round a piece of card rather than an elbow, label it with the elevation it came from, and store it dry and indoors. Next year takes half the time.
What a professional does differently
Three things, and they are the three that cost money: proper access equipment instead of a ladder, commercial-grade lights on a single controlled circuit, and a return visit within days if anything fails mid-season.
Next step
Would you rather it was just done?
If the roofline is above single-storey height, get a price before you get the ladder out.
Go deeper
Related guides
- How to Install Christmas Lights on BrickProtecting brick when you put up Christmas lights — what damages it, what fails in frost, wind trade-offs and the rules for listed frontages.
- Can a Handyman Put Up Your Christmas Lights?Handyman, roofer or Christmas light specialist — who can legally and safely fit your lights, what insurance covers, and what each option really costs.
- Outdoor Christmas Lights: The Complete Exterior GuideHow to light a house exterior properly — roofline, windows, trees and planting, by property type. Palettes, fixings and what a fitted display costs.
Straight answers