
DIY Safety
How to Hang Christmas Lights on a Roof Safely (Step by Step)
A professional installer's step-by-step guide to safely lighting your roofline — ladders, anchors, planning, and when to stop and call a pro.
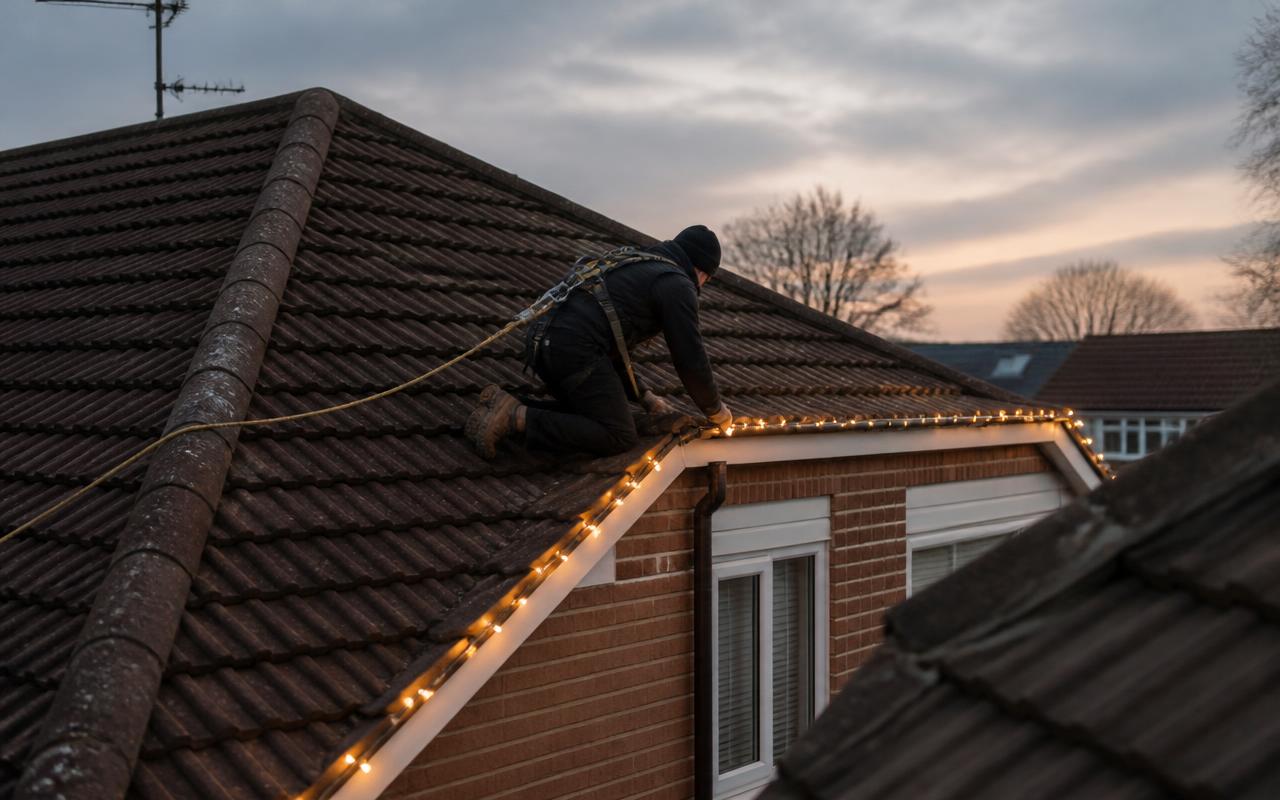
Hanging Christmas lights along a roofline safely means a proper trade-rated ladder, a stabiliser, a second person at the base, dry still weather, and the honesty to stop when the weather turns.
Before you start: the safety reality
Falls from height are the single largest cause of fatal accidents in UK construction and trades, year after year, and most happen from ladders below 4 metres — in conditions exactly like a December afternoon hanging lights.
You are not a roofer, and you are almost certainly not insured for working at height. Home insurance policies frequently exclude injuries sustained doing roofline work yourself, usually under a "ladder use" or "working at height" clause. Read yours before you climb.
If, after reading this, you decide to hire a professional instead, get a quote here.
What you'll need
- Ladder
- Class EN 131, trade-rated, tall enough for three rungs clear above the eaves
- Stabiliser
- U-shaped bar bracing against the wall
- Footwear
- Non-slip work boots, not trainers
- Lights
- Outdoor-rated, IP65 minimum
- Fixings
- Nothing that pierces the cable or the fascia — never staples or nails
- Belt
- A tool belt so both hands stay free for climbing
- Second person
- At the foot of the ladder at all times
- Weather
- No wind, frost or rain forecast
The fundamental rules of ladder safety
- Three points of contact at all times — two feet and one hand, or two hands and one foot.
- The 4:1 rule — for every 4 metres of ladder height, the base sits 1 metre out from the wall.
- Never lean sideways. Climb down and move the ladder instead; your belly button should never pass the side rails.
- Never stand on the top three rungs. Use a taller ladder.
- Tie the ladder off at the top to a fixed point where possible.
- Keep both hands free for climbing — tools and lights go in a belt or pocket.
- Wet ladders kill people. Stop for drizzle; wait for frost on rungs to clear.
Step-by-step: hanging eaves lights
- Plan the run on the ground. Lay the lights out, measure the eaves, confirm the strand reaches the power source with no joins. Plug in and test every bulb before going up.
- Identify the power source. Use a weatherproof outdoor socket, or run discreetly through a window or air-brick — never a household extension lead pinched in a window frame.
- Set up the ladder properly. Solid, level ground; 4:1 angle; stabiliser engaged; spotter at the base; top of ladder three rungs above the eave.
- Work in short sections. Never overreach: come down and move the ladder rather than stretching along the eaves.
- Manage connectors. Position each connector so it hangs freely and drains — wrap nervous joints in self-amalgamating tape.
- Power up once, on the ground. Plug in and walk both ends of the house, checking for dark bulbs, twisted strands or sagging.
- Tidy the cable run. Route the trailing cable down a drainpipe, secured at intervals, rather than across a wall.
What goes wrong, and how to recover
A bulb dies mid-season
- Likely cause
- Usually the whole strand or section on a 230V string
- Fix
- Replace from spares
Water gets into a connector
- Likely cause
- Trips the RCD
- Fix
- Find and replace the wet connector — don't keep resetting
A run lifts in wind
- Likely cause
- Storm gusts and winter winds
- Fix
- Wait for calm weather before climbing to fix
The whole strand goes dark
- Likely cause
- Blown fuse in the plug
- Fix
- Replace the fuse before climbing
| Problem | Likely cause | Fix |
|---|---|---|
| A bulb dies mid-season | Usually the whole strand or section on a 230V string | Replace from spares |
| Water gets into a connector | Trips the RCD | Find and replace the wet connector — don't keep resetting |
| A run lifts in wind | Storm gusts and winter winds | Wait for calm weather before climbing to fix |
| The whole strand goes dark | Blown fuse in the plug | Replace the fuse before climbing |
When to stop
- Any wind above a light breeze
- Any rain
- Any frost on rungs or roof
- Failing light
- Any moment you feel unsteady
The honest truth
A few hours of work at height, on a winter day, with no insurance, saves roughly £400–£800 against a professional quote — against the risk of a hospital trip or long-term injury. Most homeowners who try this once decide not to do it twice.
We carry full public liability insurance, working-at-height qualifications, and the equipment to finish the job safely in a single afternoon.
Skip the ladder. We'll do the roof in an afternoon. Request your tailored quote →
Related reading
Ready when you are
Want it done properly this season?
We design, install, maintain and take down the display across London and the South East. Send three clear photos and we'll price it.
Where to go next
More on diy safety
- Why DIY Christmas Lights Aren't Worth the RiskThe honest case against climbing your own roof in December — insurance gaps, ladder accidents, and what a professional carries that you don't.
- Commercial-Grade vs Retail Christmas LightsHow commercial-grade and retail Christmas lights differ in cable, connectors, weather rating, replaceable parts and run length.
- Waterproof Outdoor Christmas Lights: IP Ratings ExplainedWhat IP44, IP65 and IP67 actually mean for your Christmas lights, and why the connectors — not the bulbs — are what fail in a wet British December.